- ComfyUI Tutorial 01 – A Comprehensive Overview of AIGC
- ComfyUI Tutorial 02 – ComfyUI Local Deployment
- ComfyUI Tutorial 03 – Demonstration of Drawing a Little Girl
- ComfyUI Tutorial 04 – To install the ComfyUI Manager
- ComfyUI Tutorial 05 – Shortcut key list
Welcome to the ComfyUI tutorial series! If you’re searching for a powerful and flexible user interface tool, Comfy UI is the perfect solution. This comprehensive series will guide you from beginner to expert, covering everything you need to know about designing, building, and optimizing with ComfyUI.
ComfyUI stands out as a favorite among developers due to its intuitive interface and customizable features. Whether you’re just starting or looking to master advanced functionalities, these tutorials are designed to help you quickly get started and enhance your productivity.
This Tutorial Summary:
- What is AI and how it differs from AIGC
- Introduction to Stable Diffusion
- Three commonly used interfaces for Stable Diffusion
- Top 10 advantages of ComfyUI
What is ComfyUI?
ComfyUI is a node-based Stable Diffusion AI art generation tool that supports SD1.x, SD2.x, SDXL, and SD3.x. By breaking down the Stable Diffusion workflow into individual nodes, ComfyUI enables greater flexibility and customization of the creative process.
For those familiar with node-based tools like Houdini, Blender, or Unreal Engine, getting started with ComfyUI may feel intuitive. Its visual workflow design makes it an excellent choice for both beginners and advanced users, allowing seamless control over the entire Stable Diffusion pipeline.
The Differences Between ComfyUI and WebUI
We’ve updated the tutorial series on SD WebUI, and many of you might already be familiar with it. So why introduce ComfyUI now? Some of you might be a bit confused. Let me explain the differences between them in a simple and clear way:
SD WebUI:
- Easy to use and has a low entry barrier, making it perfect for beginners.
- The interface is straightforward, with all features clearly listed. You just need to find the corresponding section for the functionality you need.
Comfy UI:
- Offers better performance and speed compared to WebUI, requiring less memory to run.
- Its node-based interface and customizable workflows provide greater flexibility and more creative possibilities.
- However, it has a higher learning curve, especially for those new to node-based tools.
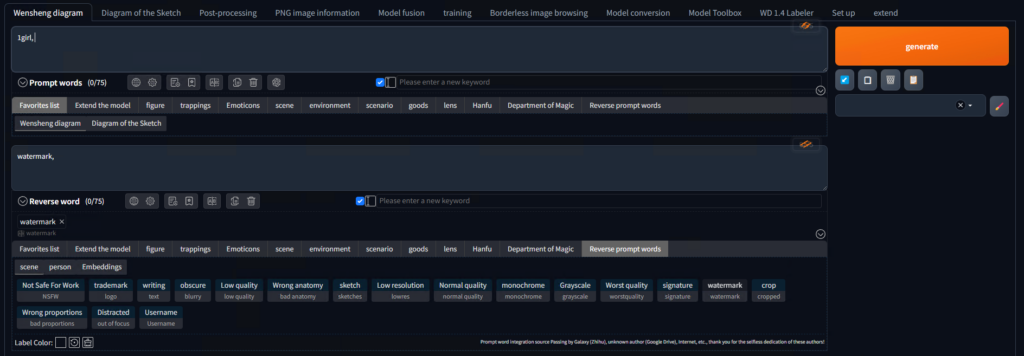
Here’s an example of the SD WebUI interface: all the functions are laid out clearly, and you can easily navigate to the feature you want.
You can click this link to see the tutorial on the web user interface.
Now let’s take a look at the ComfyUI interface.
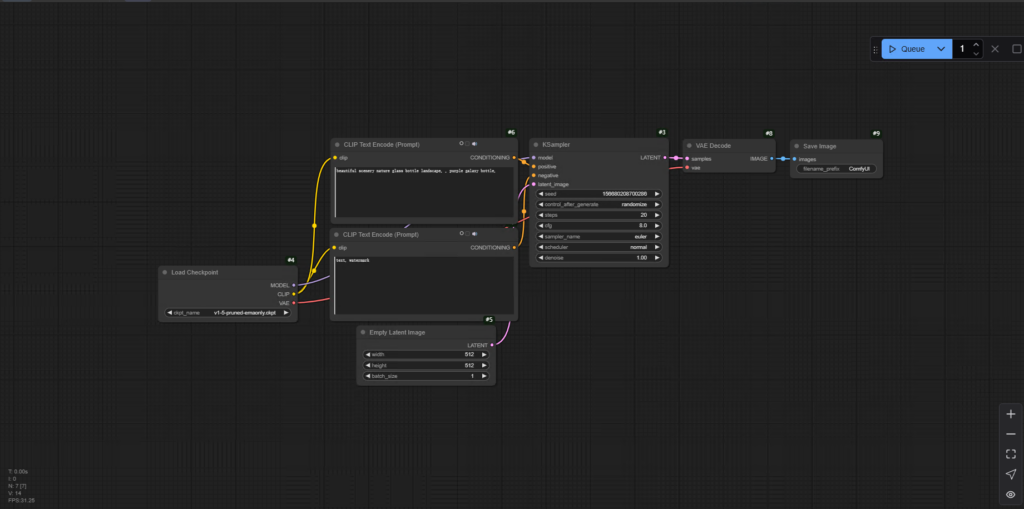
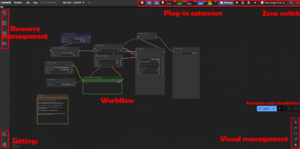
When you first open ComfyUI, you’ll see a blank canvas. While this might feel overwhelming at first, it’s an invitation to explore its powerful capabilities. To fully harness ComfyUI, it’s essential to understand workflow nodes and how they connect.
Although the initial setup may seem complex, the flexibility and customization offered by ComfyUI are unmatched, making it a rewarding tool for users who invest time in learning.
What’s great for beginners is that you don’t need to master everything right away. With ComfyUI, you can simply copy and paste workflows created by others to achieve the same image generation results.
This beginner-friendly approach allows users to dive into high-quality workflows immediately, experimenting and creating while learning the fundamentals at their own pace. Whether you’re a novice or an expert, ComfyUI offers endless possibilities for creativity and innovation.
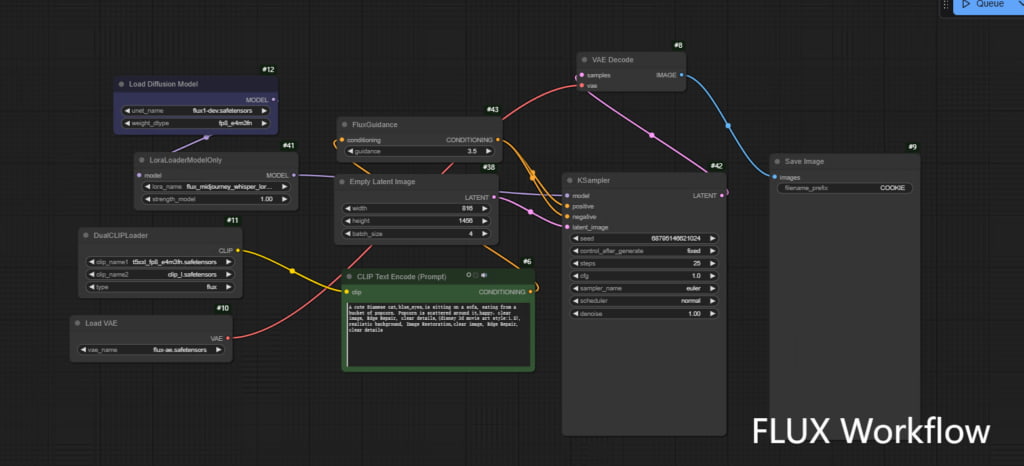
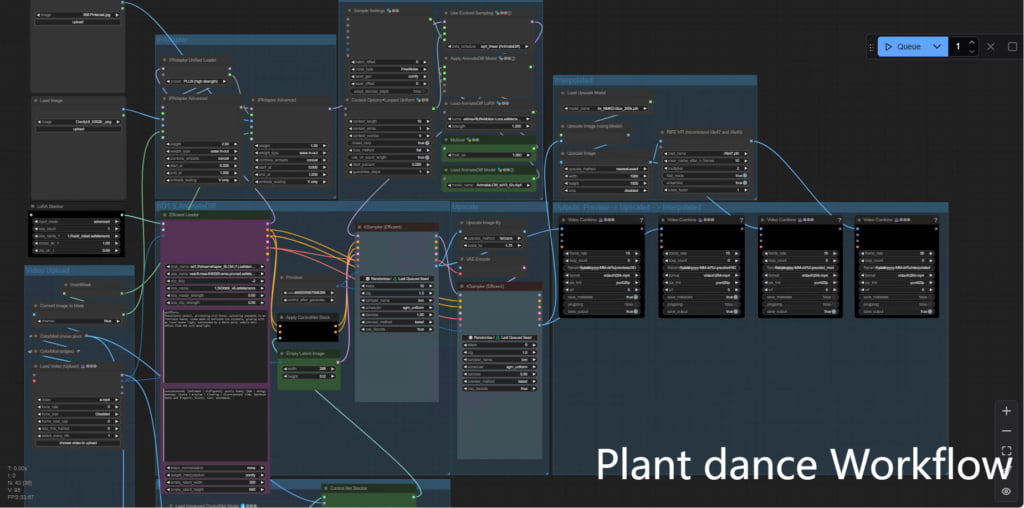
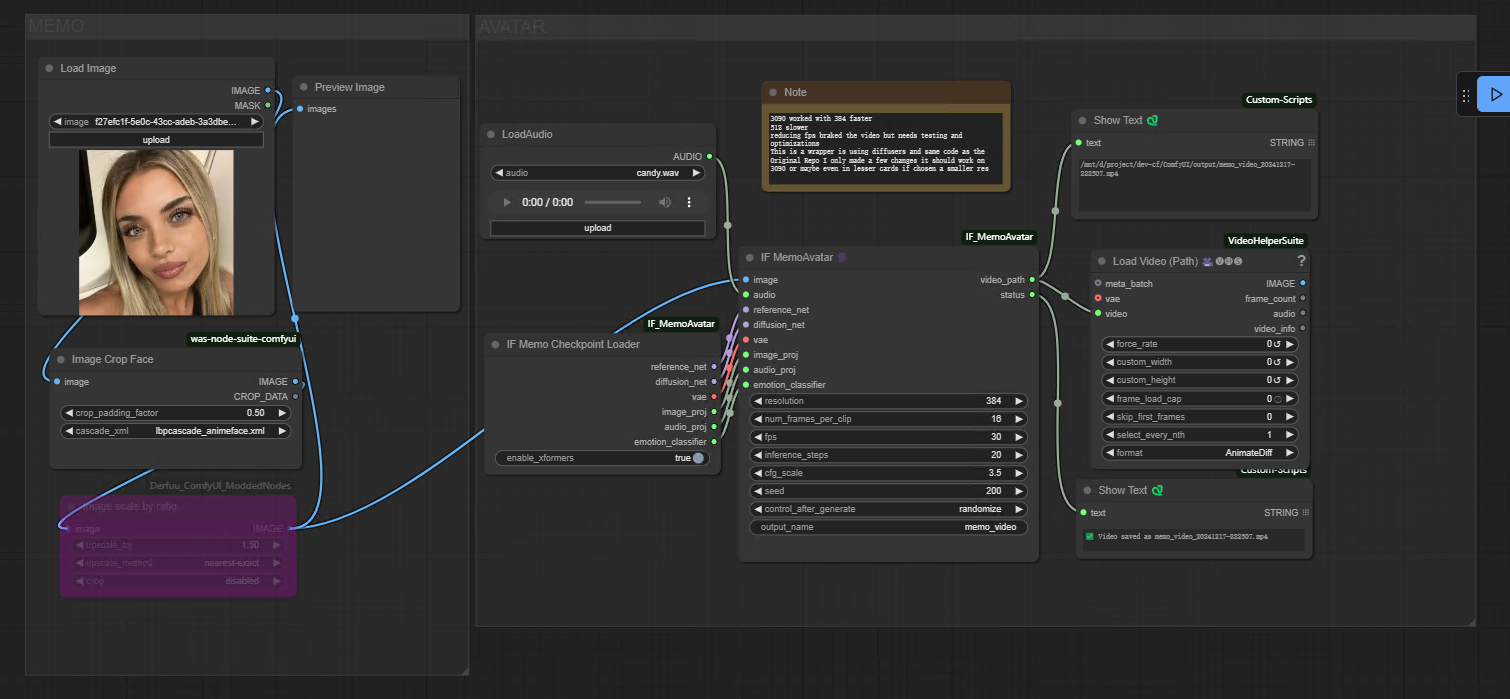
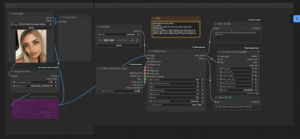
Here’s an example of a slightly more complex workflow — take a look!
At first glance, ComfyUI might seem complex and not immediately intuitive. However, if your primary goal is to replicate specific image outputs, there’s no need to understand every detail right away. You can simply import and use pre-built workflows without worrying about the technical specifics.
This feature makes It highly approachable for beginners, while still providing advanced customization options for users who wish to dive deeper and explore its full potential.
The Specific Advantages of ComfyUI
Because ComfyUI aligns more closely with the core principles of Stable Diffusion, it offers a significant speed boost compared to WebUI when generating images. Based on my tests, it performs well even when generating large images, without running into memory overflow issues.
ComfyUI achieves this by breaking down the Stable Diffusion process into modules, which allows for more precise workflow customization and better reproducibility. This modular approach makes it easy to share workflows, whether through JSON files or images, ensuring others can easily use and replicate your setup.
Once you fully understand the ComfyUI module nodes, you can easily customize your own workflows and clearly visualize the data flow throughout the process.
For more complex, long-term projects, you can build specialized workflows that queue tasks, eliminating the need to sit at your computer waiting for images to render. This means you can automate and streamline the process without having to manually repeat steps.
Additionally, the lightweight nature of ComfyUI allows it to run SDXL models with lower VRAM requirements and faster load times, making it suitable even for GPUs with as little as 4GB of VRAM. Overall, whether you prioritize freedom, professionalism, or ease of use, ComfyUI strikes a balance that caters to both beginners and advanced users.
ComfyUI vs. WebUI: Key Differences
SD WebUI
- Beginner-Friendly: Simple interface with clearly defined features.
- Low Entry Barrier: Ideal for quick setups and straightforward tasks.
ComfyUI
- Performance Boost: Faster image generation and lower memory usage.
- Flexibility: Node-based design enables customized workflows and creative freedom.
- Learning Curve: Requires understanding of node interactions for effective use.
The Drawbacks of ComfyUI
- Steeper Learning Curve: Requires understanding of node logic and connections.
- Inconsistent Workflows: Node arrangements can vary, making navigation challenging for new users.
- Complex Plugins: Greater expertise is needed compared to WebUI plugins.
Despite these challenges, It‘s flexibility and advanced features make it a powerful tool for those who are willing to invest the time to learn.
Getting Started with ComfyUI
The best way to learn ComfyUI is through examples. Start with a simple text-to-image workflow and gradually explore advanced setups. This tutorial series will guide you step-by-step, from basic workflows to complex plugin integration. By the end, you’ll be equipped to create high-quality, customized works with ease.
Whether you’re a beginner or an expert, ComfyUI offers unmatched power, flexibility, and efficiency for Stable Diffusion projects.
Share this content:
Post Comment