Foreword:If you’re excited to dive into the world of AI image generation, you’ve come to the right place! Want to create stunning images with Midjourney? Just click on our Midjourney tutorial and start learning! Interested in exploring ComfyUI? We’ve got a detailed guide for that too. Or maybe you’re curious about WebUI? Our WebUI tutorial has you covered. Each guide is designed to be simple and fun, helping you master these powerful tools at your own pace. Here, you can learn all the AI knowledge you need, stay updated with the latest AI trends, and let your creativity run wild. Ready to start? Let’s explore the exciting world of AI together!Now, let’s get started!
Welcome to the “Is It Really Basic?” series!
😭The image material provided is too small😭
😵💫What should I do if the image is unclear?😵💫
😘This article will introduce some tools for AI image magnification😘
Effect display (resolution: 355×355→1420×1420)
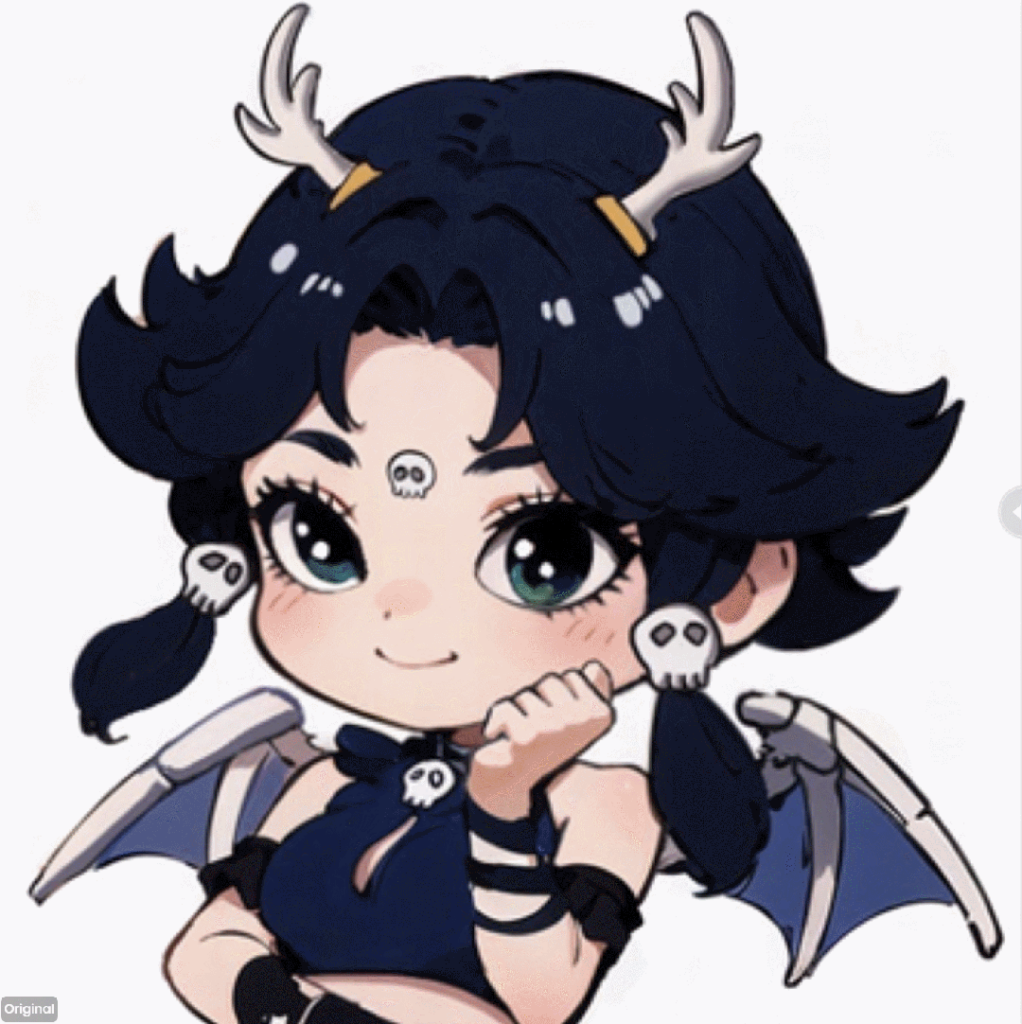
01 AI tutorial of tools — Upscayl
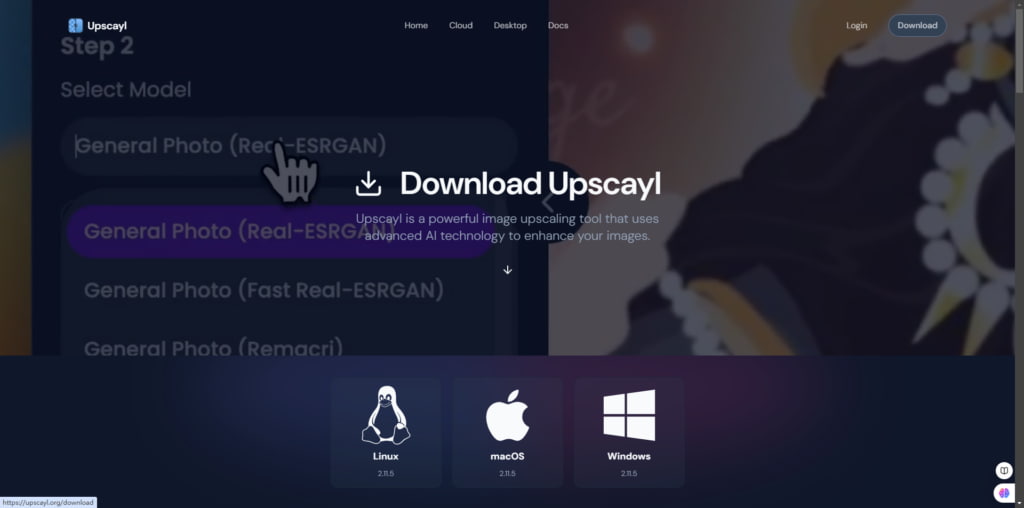
Upscayl is a free and open source AI image magnification tool that supports Linux, macOS, and Windows operating systems and follows the Linux-first principle. Use advanced AI algorithms to magnify and enhance low-resolution images without loss of image quality, supporting 2x, 3x, 4x magnifications.
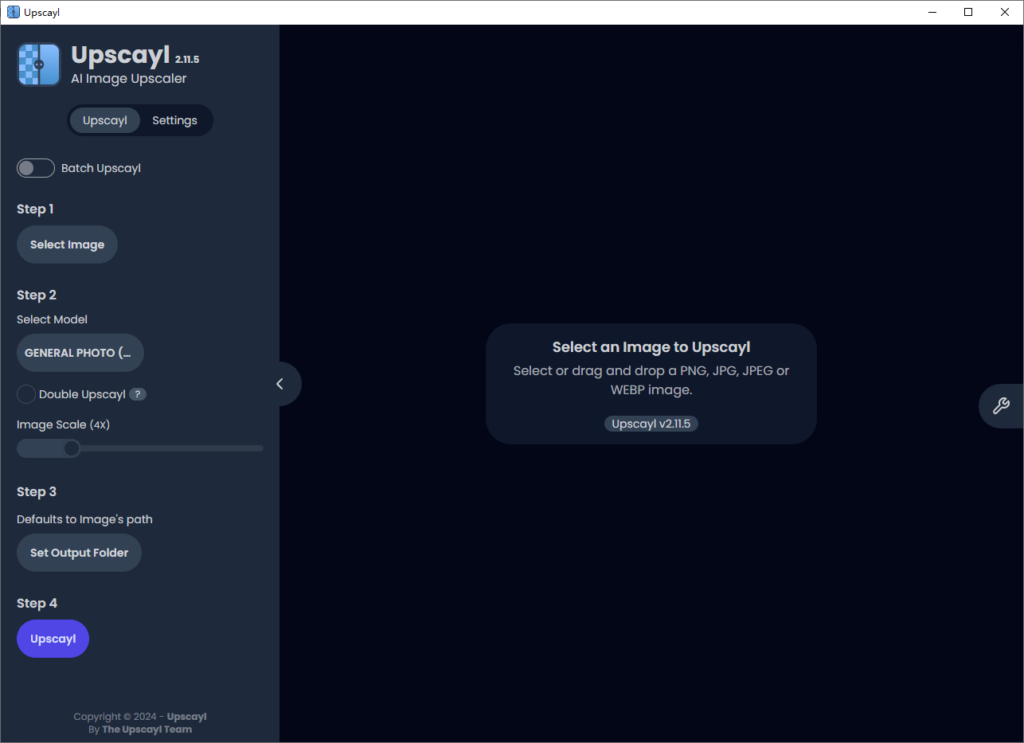
✅ How to Use:
- Select the image or drag it directly into the space on the right
- Select the corresponding mode (default)
- Select the location or not select, will generate a new file next to the original image (will not replace the original file)
- Click UPSCAYL
In this section, it is recommended to select “Slider View” for a more intuitive comparison of the before-and-after effects of image upscaling:

⚠️ Explanation of Model Differences:

⬇️ Download address: https://upscayl.org/download
02 AI tutorial of tools — Waifu2x
Suitable for handling anime style images.
Waifu2x supports 2x amplification and noise reduction, suitable for handling anime style images.
✅ How to Use:
- Select the image you want to enlarge
- Set the noise reduction level or picture style
- Click “Waifu2X”

⬇️ Test address: https://waifu2x.booru.pics/
03 AI tutorial of tools — Waifu2x
That’s right! This is also known as Waifu2x, a free and open-source image processing tool available both as a website and software version. It supports image upscaling and noise reduction.
✅ How to Use:
- Choose the image or link you want to upscale.
- Set the noise reduction level and image style.
- Click “Convert” to process the image.

⬇️ Test address: https://www.waifu2x.net/index.html
04 AI tutorial of tools — AI Image Enlarger
An all-in-one AI solution that makes your photos clearer and cleaner. It increases image resolution without losing quality, supporting 2x and 4x upscaling. However, free users can only upscale up to 10 times per day.
✅ How to Use:
- Simply drag and drop your image.
- Click “Start All” to begin the process.
- You can preview or download the enhanced image.
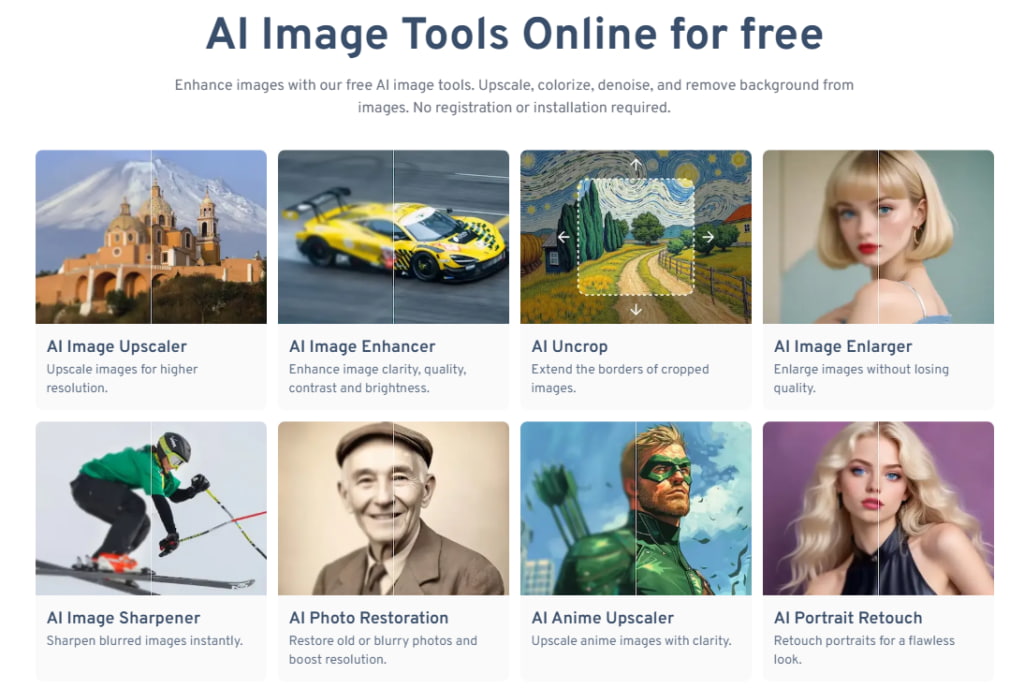
⬇️ Test address: https://imglarger.com/
05 AI tutorial of tools — Tile model (Stable Diffusion)
In addition to the methods mentioned above, we can also use SD tools to upscale the images we need (with some details modified).
✅ How to Use:
- In the “Image-to-Image” tab, upload your image, select the model, and set the keywords.
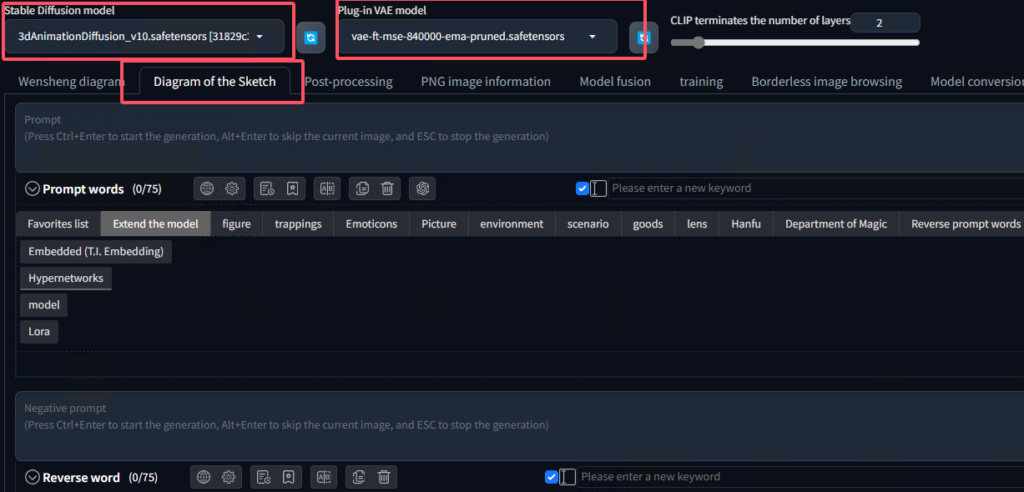
- For sampling, choose DPM++ 2M Karras or DPM++ 2M SDE Karras. You can increase the sampling steps to get better results.

- Open ControlNet and drag the image you want to upscale into ControlNet. Check the options for “Enable,” “Perfect Pixel,” and “Allow Preview.” Set the control type to Tile, and it will automatically load the preprocessor and model, as shown below:

- Next, in the script section, select the “Ultimate SD upscale” script. For the type, choose “Scale from image size” to upscale from the image, and select the 4X-ultrasharp algorithm. If this option is not available, you can choose one of the other two algorithms, and later install the necessary models under
/models/ESRGAN:

If you can’t find the upscale script, go to Extensions > Install from URL and paste this link: https://github.com/Coyote-A/ultimate-upscale-for-automatic1111.git. After installation, restart the web UI.
- Keep the keywords the same, adjust the iteration steps to around 30, and set the repainting strength to 0.4 (lower the strength for more subtle details).

- Click Generate, and it will start the drawing process. The image comparison below shows how the details of the leaves in the top-left corner are clearer. If you want to add more details during redrawing, increase the repaint strength value accordingly.
Share this content:






Post Comment