- How to Use Midjourney 02-How to add robots
- How to use Midjourney 03-Breakdown of Common Commands
- How to Use Midjourney 01: A Comprehensive Guide for Beginners
- How to Use Midjourney 04-Enhanced Combining Commands Part1
- How to Use Midjourney 05-Enhanced Combining Commands Part2
Learn how to bring your imagination to life by incorporating stunning imagery with Midjourney, the tool transforming the world of digital artwork. This guide will help you, regardless of whether you’re an expert designer or a beginner, learn to maximize Midjourney. Learn the necessary commands, adjust settings, and acquire pro-level tips that will take your creations to the next level.
Using Midjourney for the First Time
To begin, type a text prompt—Midjourney’s AI generator will synthesize an image based upon it. Understanding a command and setting Midjourney properly makes this task much easier. So let’s tackle an example:
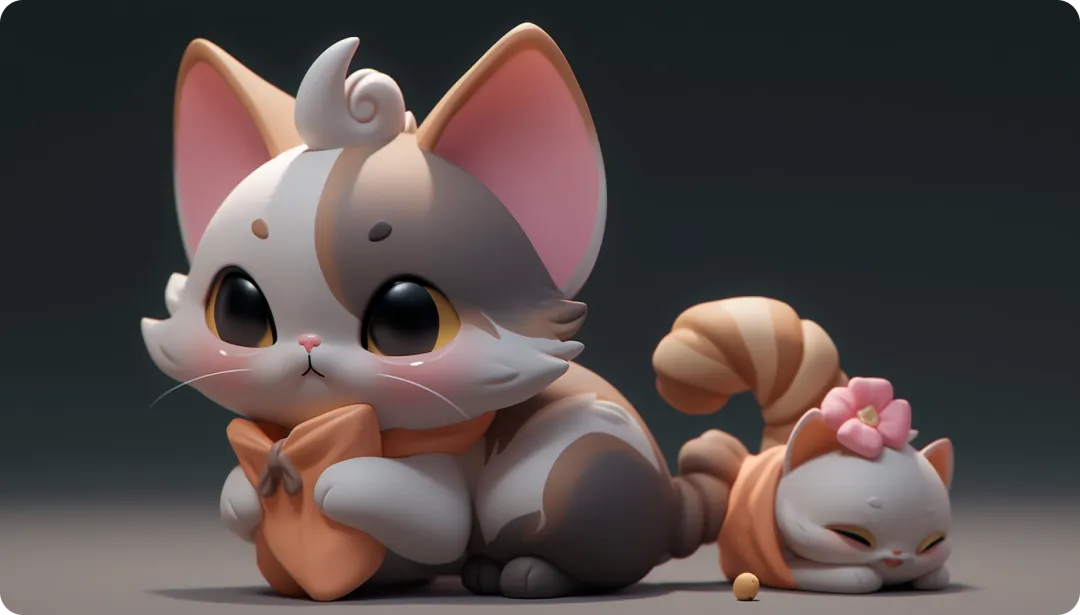
Example Prompt:
“A kitten playing with a ball, 3D animation style, soft lighting, vibrant colors —ar 16:9 —niji 5 —s 400 —style expressive”
- —ar 16:9: Widescreen wallpaper or post images on social media by setting an aspect ratio of 16:9.
- —s 400: Changes the intensity of styles to 400 to get an ideal balance between realism and artistry.
- —style expressive: enhances emotions or adds dramatic elements to a work of art.
Midjourney Newest Versions and Details
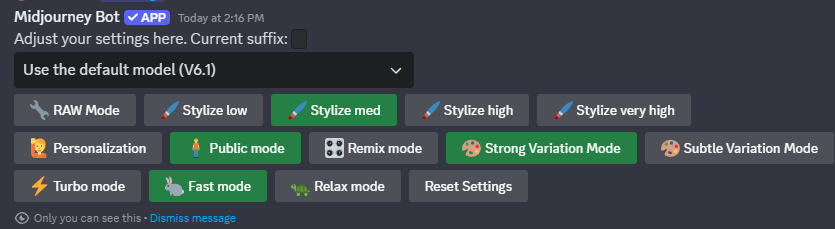
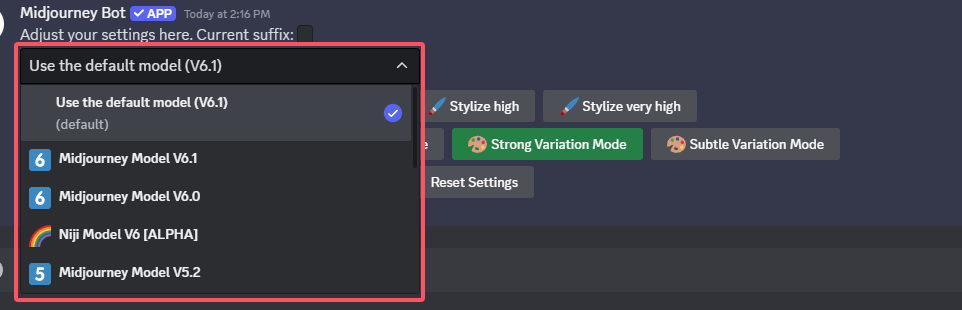
To get to Midjourney’s control panel, simply type /settings. Here is what should be visible:
MJ 6.1 takes the crown as the newest version. It boasts more advanced rendering, detailed sharpness, and enhanced speed for efficient processing. On the other hand, Version 5 caters to users who enjoy a specific aesthetic or appreciate nostalgia. Versions of the program differ for a reason: each build has distinct features improving an aspect of the application, whether it be image quality or specialized features. The tools within older versions might not yield the same results but suit very niche audiences with specialized needs, so do some tinkering and find the one that best suits your needs!
The basic settings help enhance your art to the next level.
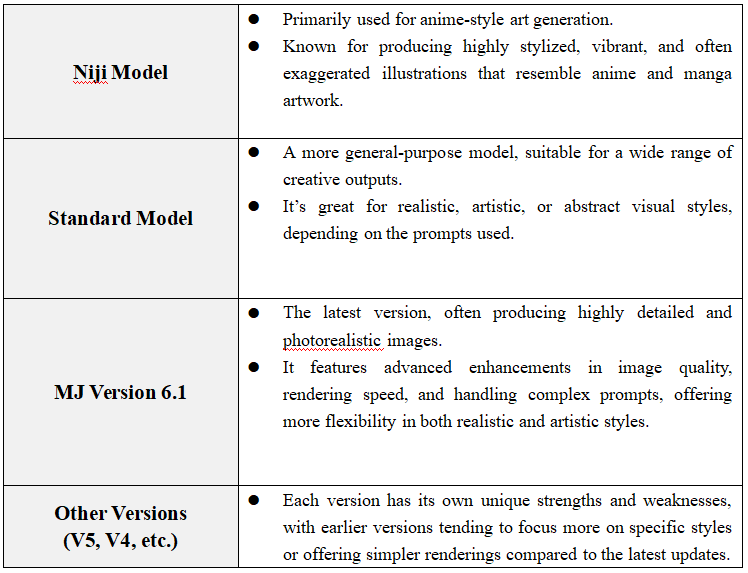
Here are the different Midjourney models and their corresponding styles:
These key changes will help you get more tailored results.
Knowing which settings to adjust can make a significant difference. The stylization setting (low, medium, high, very high) allows you to control how realistic or artistic your image looks. By selecting the appropriate stylization, you can create everything from hyper-realistic images to abstract masterpieces.
The style settings in Midjourney are used to control the level of artistic stylization applied to the generated image. Here’s what each setting represents:
- Low: Low stylization, resulting in a more realistic or minimal artistic effect. The image will closely resemble the input prompt without much creative interpretation.
- Med (medium): A balanced stylization where the image has a moderate artistic effect. It’s neither too realistic nor too heavily stylized.
- High: High stylization, where the image becomes more artistic, with distinct visual effects and creativity applied to the output.
- Very High: Very high stylization, creating highly artistic and imaginative images, often with exaggerated features or abstract elements.
Reset Settings: This option resets all settings back to their default values, allowing you to start fresh with the default parameters for the model and style.
Stealth and Remix Modes: Advanced Features
1. Levels of stylization

- Low: For realistic portraits, there is no need for excessive alterations of artistic style.
- Medium: Originality can shine through at magazine covers.
- High or Very High: Concept art enthusiasts will be delighted the most for these bold, abstract, or surreal visuals.
2. Speed and Privacy Modes
- Public Mod: Created work for viewing into Midjourney Gallery; covers can be viewed freely.
- Stealth Mode: With the 60-month plan, your artwork can remain solely yours.
- Fast Mode sacrifices some quality and content. Expect lower rendering times if the 60-dollar plan is opted for. For those who choose Relax Mode, there will be ten-minute queues to render a single image.
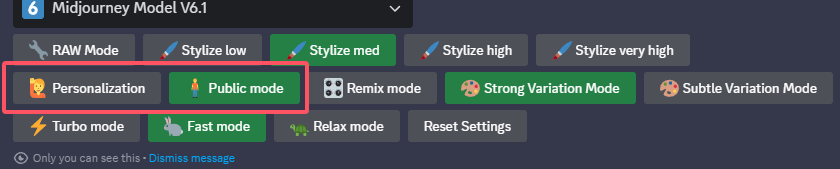
3.Remix Mode
Polish ideas by changing images already in existence through altering colors, poses, or backgrounds.
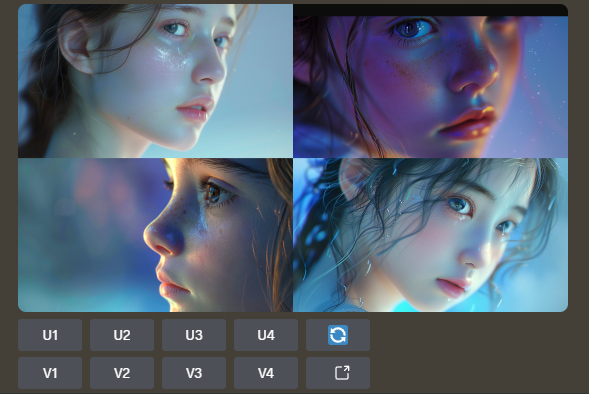
Art Shifting By 90 Degrees
- With U1–U4 buttons available, boosting image quality doesn’t have negative consequences.
- Combining commands allows for your style to be shifted with more randomness. Make use of —chaos 80 alongside—style cute to do so.
- New styles to a design can be seen through selecting V1–V4. Altering the view enables more perspectives on your art.
Midjourney Official Link : https://www.midjourney.com
More
If you want to dive into the breath-taking world of AI image generation,? You’ve landed in the perfect spot! Whether you’re looking to create stunning visuals with Midjourney, explore the versatile power of ComfyUI, or unlock the magic of WebUI, we’ve got you covered with comprehensive tutorials that will unlock your creative potential.
Feeling inspired yet? Ready to push the boundaries of your imagination? It’s time to embrace the future, experiment, and let your creativity soar. The world of AI awaits—let’s explore it together!
Share this content:


Post Comment